
Content migration burns hours that could be used for design and development. This is especially true if you’re migrating from one platform to another or from a static site to a dynamic one.
(We’re seeing less and less of the latter as the Internet moves toward content management systems.) We helped migrate 60+ blog posts from a Craft CMS to WordPress for the Edmonton Community Foundation in under two hours and this is how we did it!
In our case, we only needed to transfer over certain content pieces that fell under a particular category. This ruled out a straight migration using existing tools. (Who wants to transfer everything only to end up deleting what you don’t need?) We had a copy of the database and could have written a script that would extract what we needed from it; but we weren’t familiar with the entity relationships for Craft CMS and after an initial assessment it seemed like more work than necessary for what we wanted to do.
What We Did
The process was straight-forward:
- Get a list of URLs we need to import
- Alter Commander Vee to be specific to our project
- Write a supplemental script to scrape the database for missing information
- Add importing featured images to the Commander Vee import script
- Run the import script
- Test the results
Get a list of URLs to import
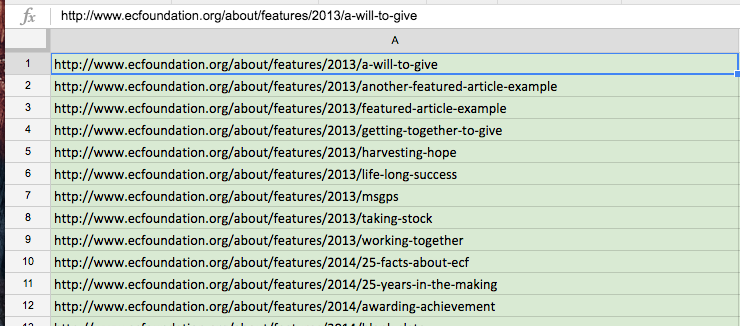
We ran the Screaming Frog SEO Spider Tool on the existing site to get all of the site URLs. We’d need them for redirects, anyways, so this was already part of our process. For the post import, we only needed certain content pieces that fell under a particular category and, thankfully, those pieces were easy to parse out based on the URL structure. As you can see below, we needed content pieces that fell under ‘/about/features/’.
Commander Vee Setup
Commander Vee is example code that shows how someone might scrape content and insert it into a WordPress database. Commander Vee is not a polished plug-and-play script but it certainly did help as a launching off point for our data migration!
We set up Commander Vee on a local web server so we could execute PHP files. We used MAMP Pro, but it doesn’t matter what you use to spin up a server. Our local URL was http://cvee.dev.
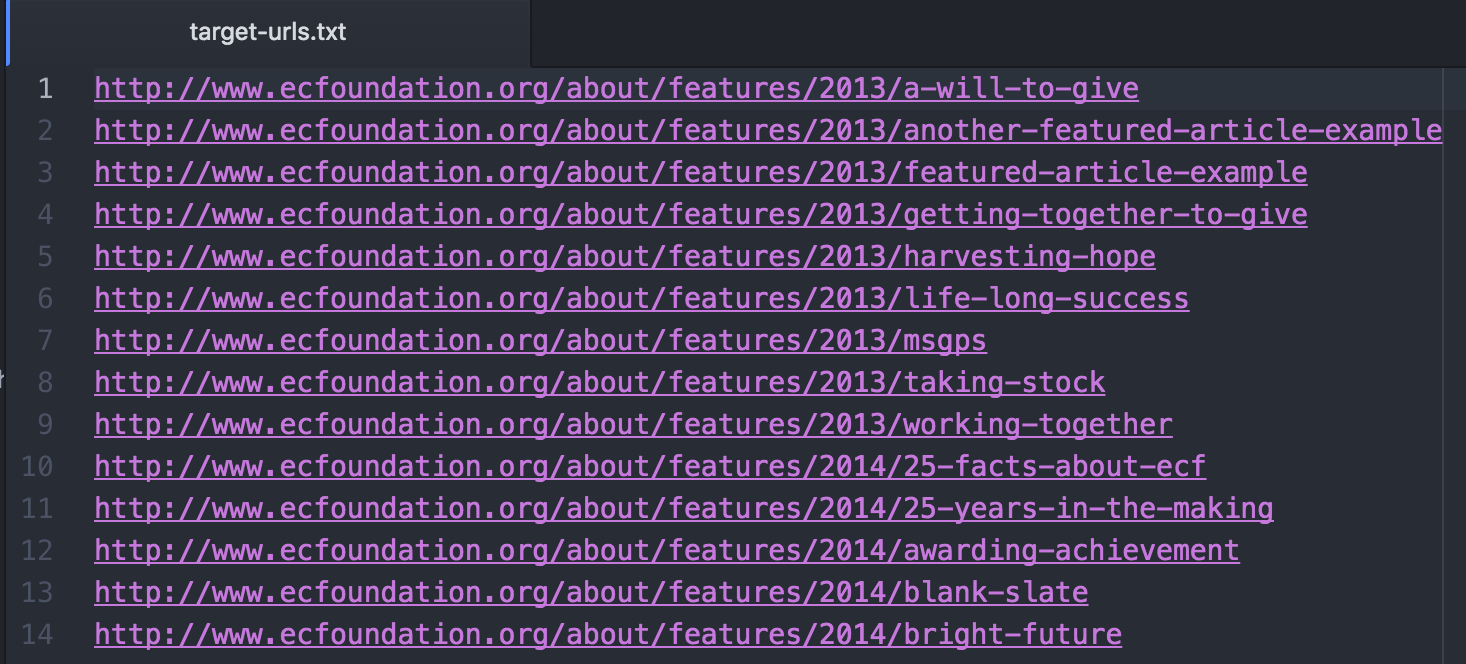
Target URL File
Copy and paste the URLs you would like to scrape into a text file in ‘commandervee-master/target-urls.txt’; one URL per line. We named our file ‘target-urls.txt’ but you can name yours anything you like. Just make sure you reference the correct file name in the next step.
If you are on a Mac, open your terminal and navigate to the ‘commander-vee’ directory. Run this command:
wget -i target-urls.txt –adjust-extension -P html
Note: If you have never used wget on your computer before you will have to install it. There are plenty of resources out there on how to do so. Because our developers are on Macs we used Homebrew to install Wget.
You should see something like this in terminal:
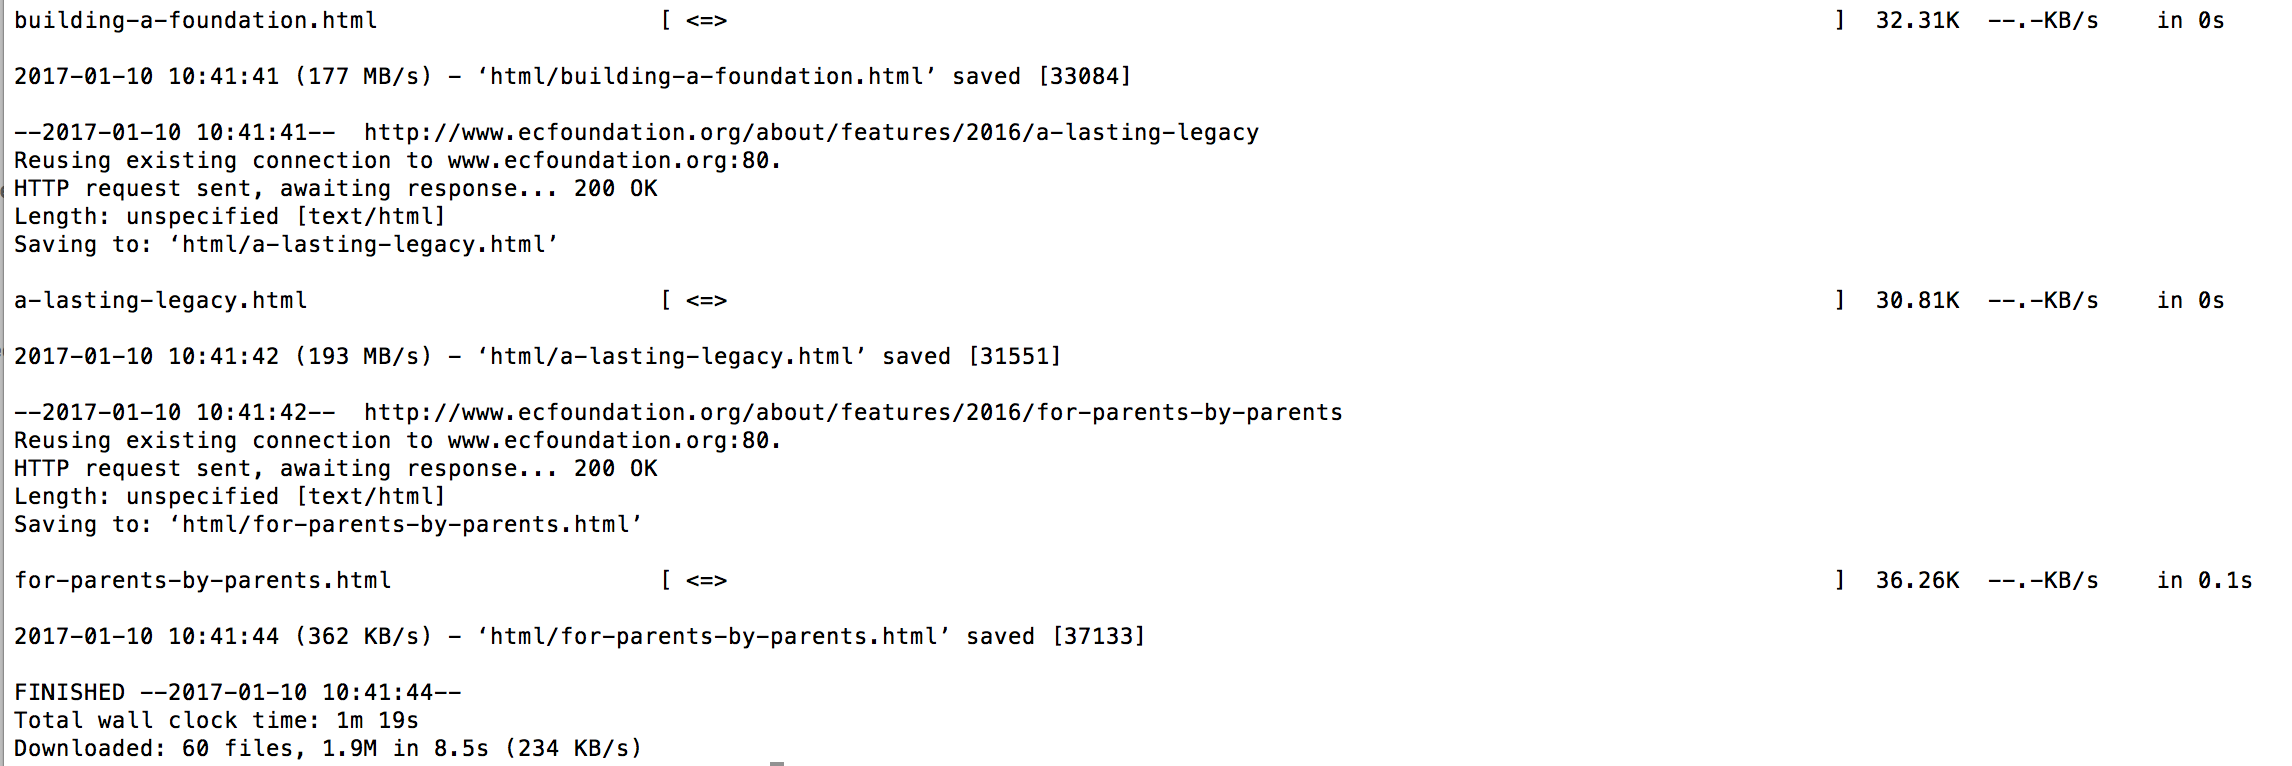
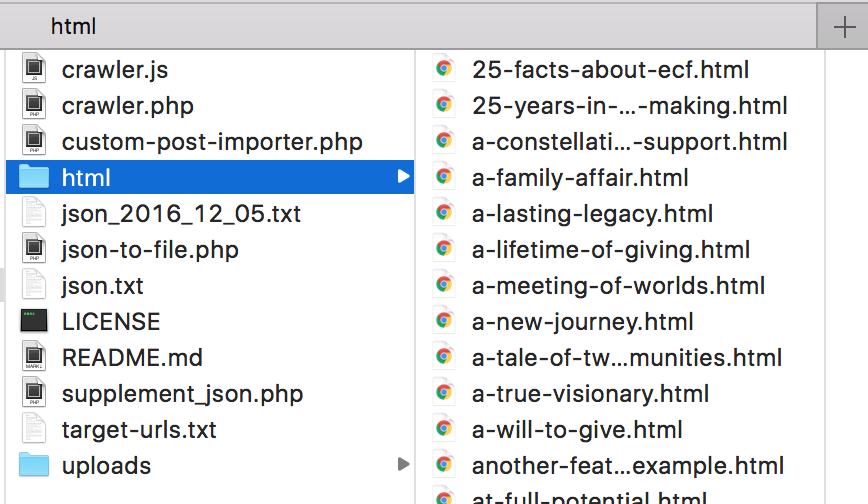
This command goes to each URL in your target-urls.txt file, gets the HTML for the page and writes it to a file, puts a .html extension on it, and then dumps it in a folder called html.
Crawler
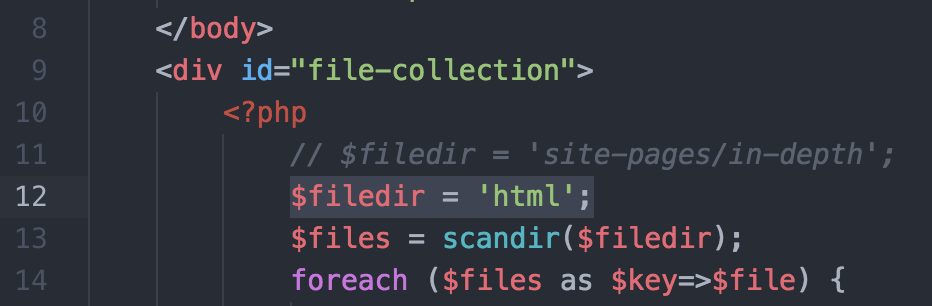
Open up ‘/commandervee-master/crawler.php’ and adjust the variable $filedir to reflect your directory; if you used the terminal command above, exactly as written, the variable value would be ‘html’.
Now open crawler.js and scroll down to the EXTRACTION FUNCTIONS section.
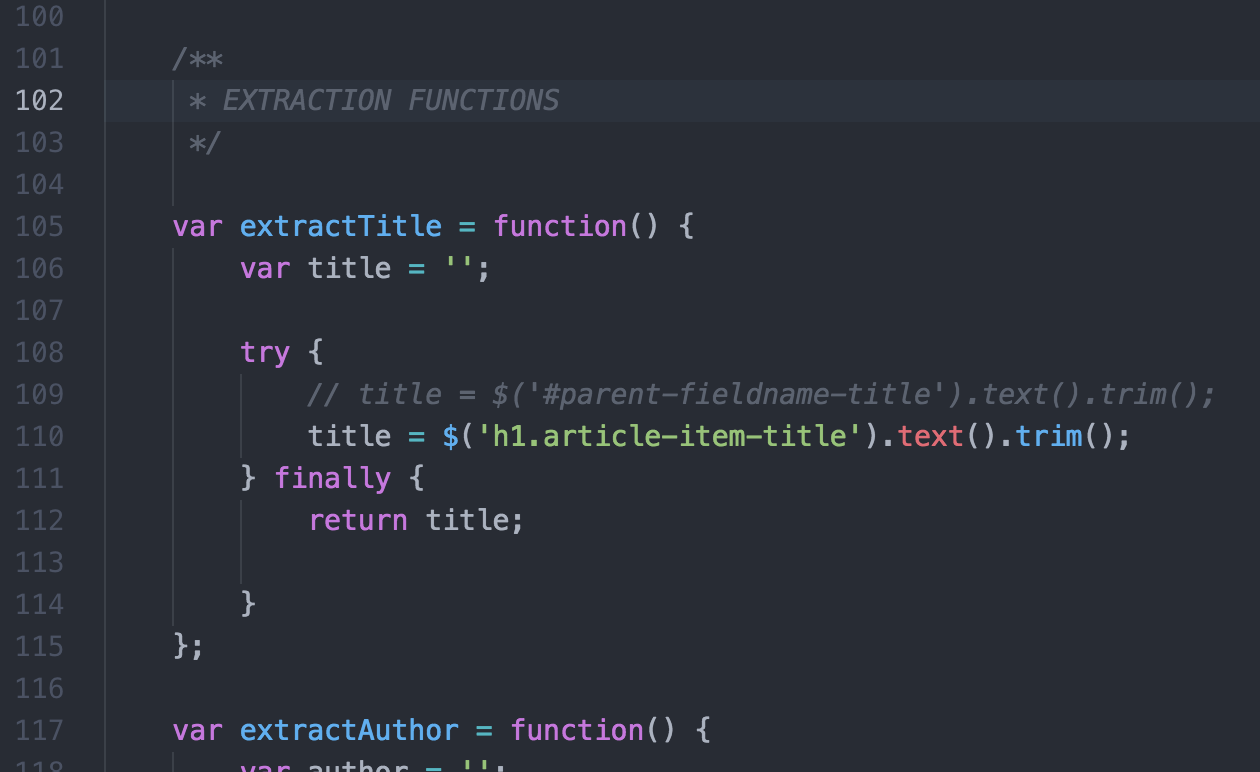
This is where you’ll have a bit of work to do! These extraction functions will help populate the JSON array that you’ll be using to import data into WordPress. You’ll have to inspect the source of the URLs you’re importing and find what elements/classes/IDs will help you to target the title, author, author slug, publish date, featured image, and content.
The crawler.php file, together with crawler.js, will go through every *.html file in your ‘html’ folder and use Javascript to pull data from the scraped content into a JSON array which will be called json.txt. You can change the name of your json.txt file by editing json-to-file.php on line 5.
Now, you can run crawler.php in the browser! In our case, that url was: http://cvee.dev/crawler.php. You’ll see a flash of content for each *.html file on the screen and when it is finished running, the screen will stop on the last file crawled.
We highly recommend running a test with only a few files to make sure you’ve adjusted the code correctly before you try running the crawler script on a directory with hundreds of files. It took us a couple of tries before we had it outputting what we needed. If you do have hundreds of files, look at splitting them up into smaller groups and making the json.txt file name dynamic so you end up with several smaller JSON files rather than one monster file.
If everything worked, you will have a json.txt file with a malformed JSON array.
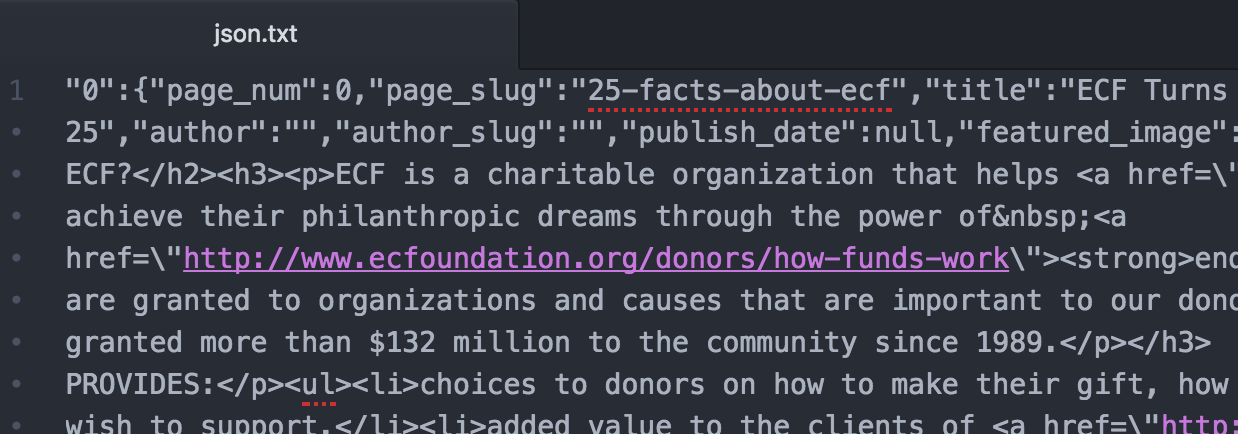
To correctly form this JSON array, you’ll need to add curly braces around the entire array and remove the last trailing comma. There are online services that will help you test to ensure your JSON array is formed correctly. We used http://www.jsoneditoronline.org/ for testing.
Supplemental Script
When using the crawler.js extraction functions you may find that you don’t have all of the information you need available on a rendered page! Don’t panic.
In our case, the publish date and author slug were not available on the rendered pages so we had to write a supplemental script.
Our supplemental script went through a locally hosted copy of the existing database and pulled out the information that was not available from the content scraping. The script then looped through the generated JSON array and used select statements that matched the page slug in the array with a row in the database, and then used that to add the missing information to the JSON array. Once it was complete, the script then output the altered JSON array to a new file, with the date included in the file name.
Importing Posts Into WordPress
Now that you have a JSON array with the data that you want to import into WordPress you can get down to business and start editing the custom-post-importer.php file.
JSON File Path
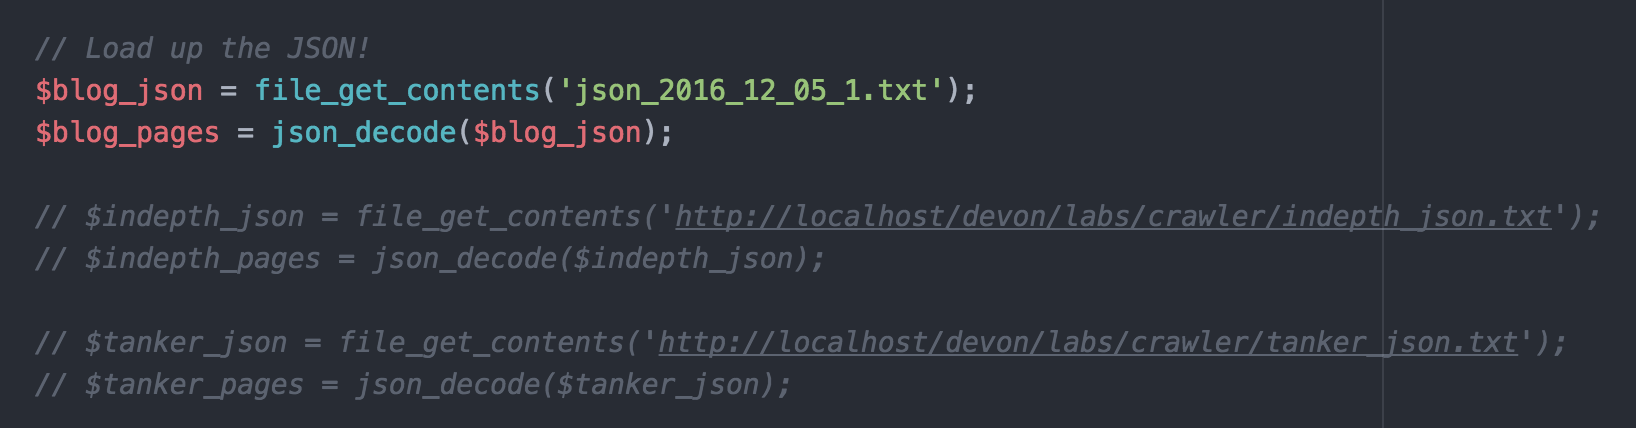
Your first order of business is to adjust the path of the $blog_pages variable to point to your *.json file. We placed ours in the same directory as the file. We also didn’t require the $indepth_page or the $tanker_pages sections so we commented them out.
Update_Post_Meta
We wanted to insert Yoast meta descriptions and a custom field we had created for guest author bylines, so after a post is inserted we added a couple of update_post_meta() calls.

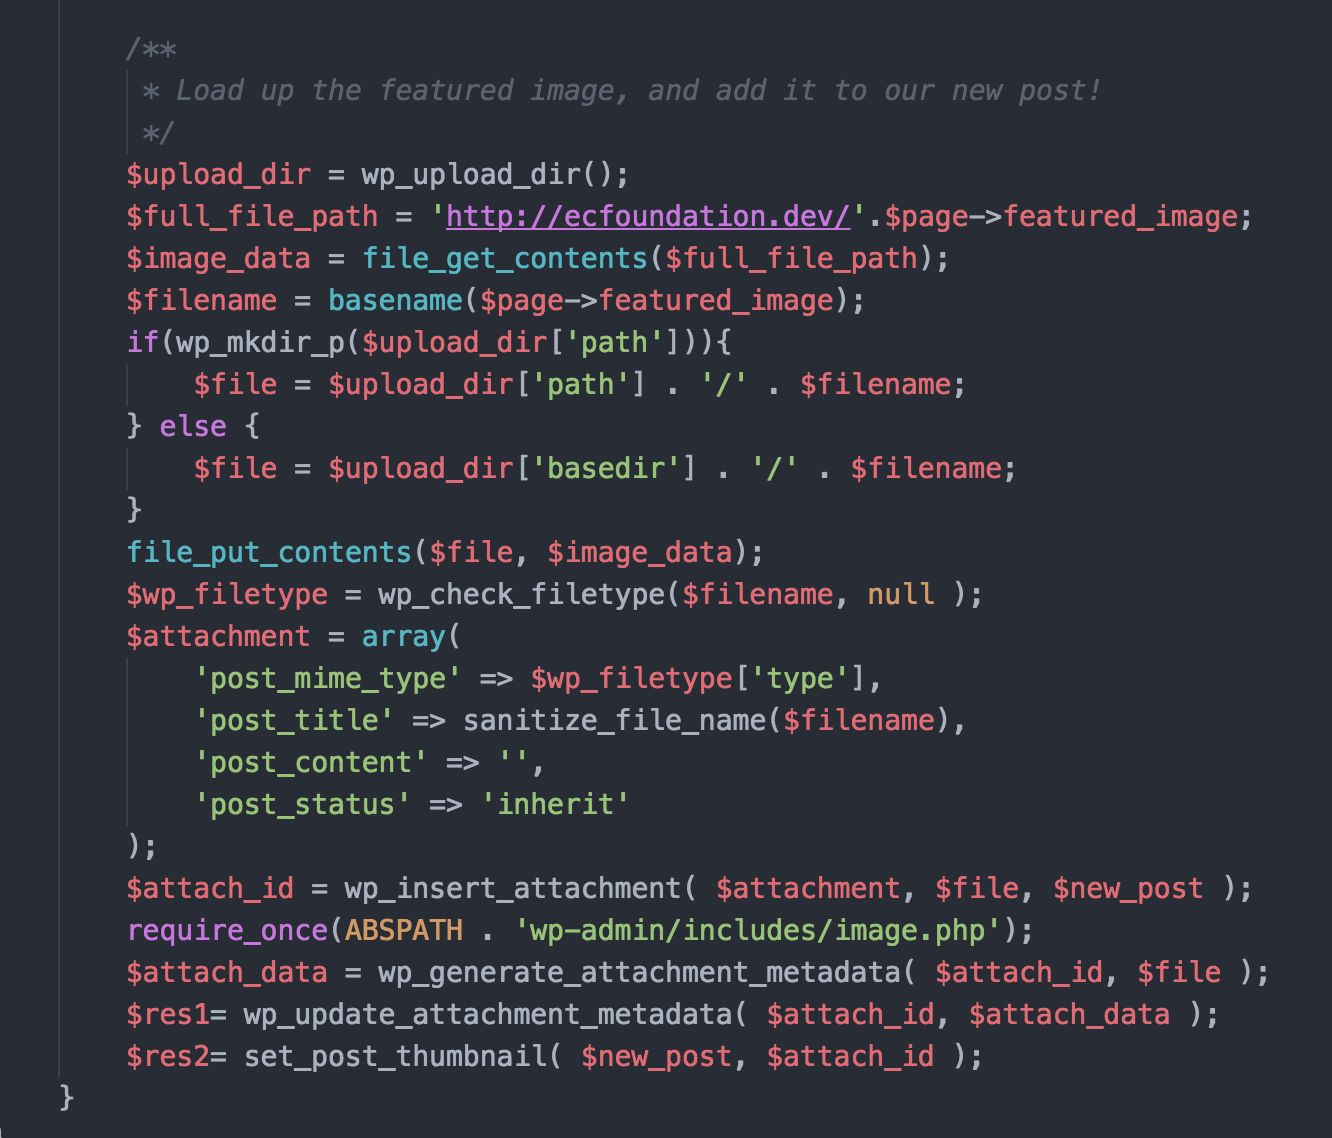
Featured Image
Commander Vee in the Git repository doesn’t have the code for loading a featured image, so we took a stab at it and this bit of code worked for us. This is just meant to be an example of how you could insert a featured image, but it’s not optimized to work in all situations.
Final Step
You’re almost there!
Next up, you move the custom-post-importer.php and your *.json file into your WordPress theme. We did this on a local installation, not on a remote server. Once your files are in place, go to the URL of custom-post-importer.php in your browser. We ran ours using Chrome. For example:
http://site.dev/wp-content/themes/theme_name/custom-post-importer.php
Check your PHP error logs to make sure there were no errors and then head over to your WordPress administration area to see if your posts imported!
We highly recommend trying the process out with only a few posts to make sure your code is working correctly before you commit to importing all of your posts. It’s a lot easier to strip two or three posts from your WordPress installation than hundreds.
What We Would Do Next Time
The one thing we could have done that we didn’t do this time around is to comb the content of blog posts for <img> tags, extract those, import the images into the WordPress media library, and then alter the path of the images.
You can probably see all sorts of things you’d like to do different! Every project is unique and the great thing about Commander Vee is that it provides you with a strong starting point for a variety of situations.
Conclusion
It took us a couple of hours to set this up, but for 60+ blog posts, that’s still less time than it would have taken to copy and paste them from Craft to WordPress! We will definitely be using this setup again in the future.